When I configured my personal Linux VPS, I didn't expect to run into roadblocks so quickly. But sure enough, the Wi-Fi at my University started blocking my portfolio's IP address. This was due to a switch I made, from using benjaminmosley.org, to benjaminmosley.com. The campus servers had no context as to why I did this (just to make my site more professional) but in a zero-trust model, you have to assume everything unfamiliar is a threat.
As far as University IT staff know, the new domain could be part of a phishing campaign, botnet or otherwise. So, I was blocked. Not a huge issue, as I or anyone else looking to view my site could simply connect to another network to make the website load. The big problem this caused was with my coin counting device. Here's why:
The coin device collects data locally (in my dorm room) and when the data is ready, it gets sent across the internet to be received by coins.benjaminmosley.com. However, since the school's servers were blocking connections to that site, that means my coin counter's requests to publish data were all blocked too.
This was a big problem.
So I built a solution.
The Idea: A Portable Gateway
Instead of accepting the reality that my device was bricked for as long as I lived on school property, I decided to build my own solution: a wireless access point that automatically routed through my personal VPN.
Right before this incident, I decided to test out WireGuard VPN on my other Linux VPS. This was mainly to create a private wide-area-network for accessing files stored locally from anywhere. However, my VPN would become the savior of my coin-counter.
The Setup
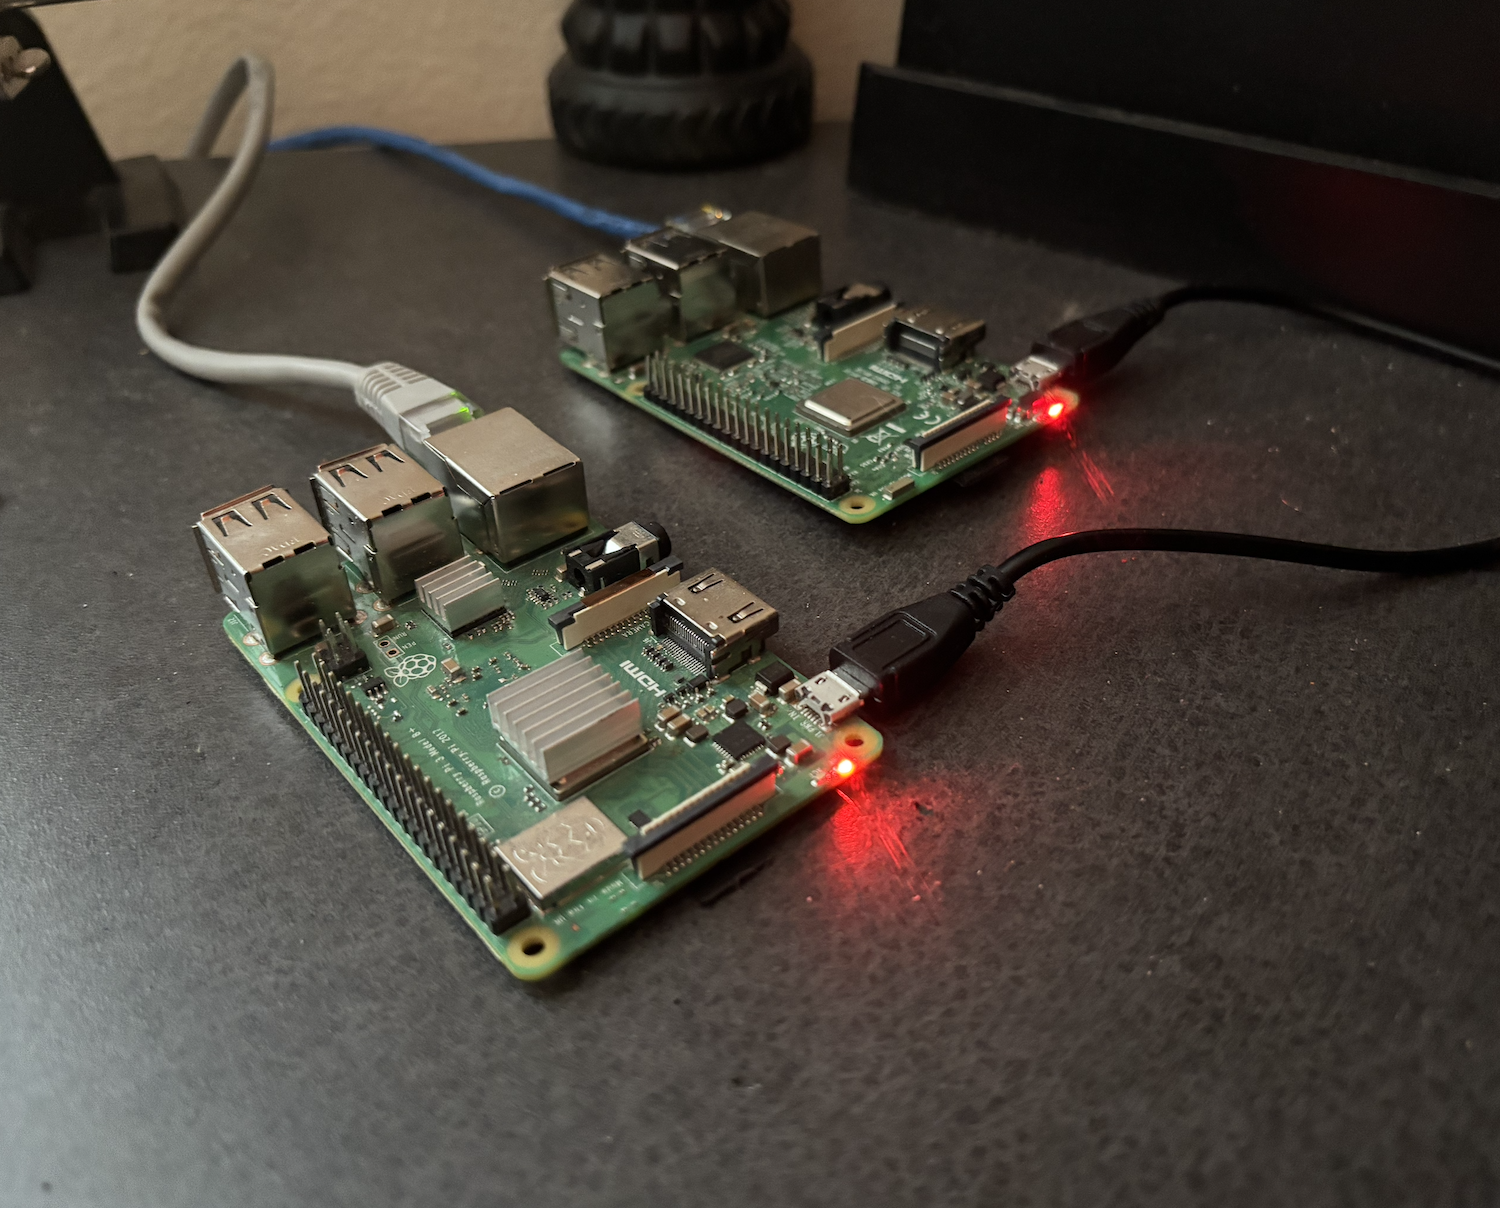
I used a Raspberry Pi to build this access point. It worked like this:
hostapd: This let the Pi broadcast a Wi-Fi network, effectively turning it into an access point.dnsmasq: A lightweight tool that handled DHCP (assigning IPs to devices that connected) and DNS (resolving domain names).dhcpcd: The daemon responsible for the Pi's own networking configuration — setting static IPs, managing interfaces, etc.
Then I routed all outbound traffic through WireGuard. Any device that joined my Pi's Wi-Fi would be automatically routed through my home network via the VPN — bypassing campus restrictions entirely.
Here's a simplified breakdown of what happens:
- The Pi boots up.
- It starts broadcasting a network called
PiVPN. - A connected device (like my coin counter) gets an IP from
dnsmasq. - All traffic from that device is tunneled through the WireGuard interface.
- The traffic hits my home network (via VPN), where it's treated like any local device.
No more firewall blocks. No more network tricks. Just clean, encrypted access.
What I Learned — and What I'm Still Learning
This project taught me the fundamentals of DHCP, routing, and interface management. But I'll admit: I still want to dive deeper into how tools like hostapd and dnsmasq really tick. Why certain configs break things. How to debug IP conflicts. That kind of stuff.
I'm planning to write a follow-up deep dive on these services once I understand them better — so stay tuned if you're curious too.
The Result
Now, I have a portable access point I can bring anywhere. It acts as a VPN gateway-in-a-box, giving me seamless access to my home server, DNS routes, and Samba shares.